

Surface Preparation in Residential Painting: What It Is and Why It Matters
The quality of a paint job is decided before anyone opens a can of paint. By the time color goes on the wall, the outcome is largely already determined by what did or didn’t happen to the surface underneath.
Most paint problems are not caused by the final coat of paint alone. Peeling, cracking, bubbling, stain bleed-through, rough walls, failed caulk, and uneven finishes often begin with poor surface preparation.
That’s an inconvenient truth for comparing estimates, because preparation is invisible in a finished room and invisible on a quote. It’s the easiest thing to leave out and the hardest thing to notice missing until year three.
Residential Painting Prep in Jacksonville, FL: Why It Matters Before the First Coat
Residential painting prep is the process of cleaning, repairing, sanding, caulking, priming, and protecting surfaces before paint is applied.
In Northeast Florida, prep carries particular weight. Exterior coatings here deal with strong UV exposure, heat, humidity, frequent summer rain, persistent mildew conditions, and salt air near the beaches — often all at once, and year-round. Those conditions make both preparation and ongoing maintenance more important than they are in milder climates.
A New Leaf Painting Contractors has been painting homes in this market since 2001. In our experience, most premature coating failures involve some combination of surface condition, preparation, moisture, deferred maintenance, or product selection — rarely a defective finish paint on its own.
Paint Is Only as Good as the Surface Underneath
Paint is a finish coating, not a repair material. It bonds to what’s beneath it, and it can only bond to something clean and sound.
Dirt, mildew, dust, chalking, and loose paint all interfere with adhesion. A coating applied over any of them is attached to the contamination, not the substrate, and it tends to release when that layer lets go. Cracks and gaps need to be addressed before painting rather than filled with paint film that will split open again. Damaged wood and drywall need repair, not concealment. And certain surfaces need primer to accept a topcoat properly.
None of this is exotic. It’s the ordinary work that separates a coating system from a color change.
Why Paint Jobs Fail Without Proper Prep
When a paint job fails early, the problem is often not just the paint. It is usually some combination of the preparation, the surface condition underneath, moisture, or the product-and-substrate pairing.
Certain causes come up again and again on the failures we’re asked to look at:
- Painting over dirty surfaces so the coating never bonds to the substrate
- Painting over mildew, which continues growing underneath
- Painting over chalking paint, which acts like powder between the surface and the new coat
- Skipping sanding, so patches and glossy trim never accept the finish evenly
- Skipping primer where the surface required it
- Painting over loose or peeling paint that was already failing
- Ignoring cracked caulk and letting water into joints
- Painting over rotten wood
- Not repairing drywall properly before the finish coat
- Unresolved moisture issues behind the surface
- Using the wrong product for the substrate or exposure
Notice how few of these have anything to do with the paint itself. A premium coating applied over any one of them is working against the surface it’s on.
Preparation Starts Long Before the Repaint
Here is the part that surprises most homeowners: preparation doesn’t begin when you schedule a painter. What happens to your exterior in the years between repaints has a great deal to do with how much preparation and repair the next project will require.
A lot of the significant repair work we scope — stucco reconstruction, fascia replacement, siding repair — began as something small and visible. A hairline crack that started taking on water. An open caulk joint at a window. A downspout discharging against the same corner of the house every time it rains. A shrub that grew into the siding and stayed there. None of those conditions announce themselves. They just sit and work.
My own practical recommendation to homeowners is to walk the outside of your house every three to six months and actually look at it. That interval isn’t a building code requirement or a manufacturer mandate — it’s a habit that, in my experience, gives you a reasonable chance of catching problems while they’re still small. Pick a couple of times a year you’ll remember and make a slow lap.
What’s worth looking for:
- Open, cracked, or missing caulk — especially around windows, doors, and trim joints
- New stucco cracks, or existing cracks that appear to be widening
- Soft, spongy, or discolored wood on fascia, trim, columns, and siding edges
- Peeling, blistering, or flaking coatings anywhere on the house
- Water staining or discoloration, particularly below windows and at rooflines
- Drainage that repeatedly wets the same area — downspouts, grading, irrigation overspray
- Vegetation touching siding, trim, or stucco
- Gaps around penetrations — hose bibs, vents, light fixtures, conduit
- Areas that stay damp long after everything else has dried
None of this requires a ladder or expertise. It requires ten minutes and a willingness to look.
And here’s the part that isn’t good for our business to say: sometimes what you find means you shouldn’t repaint yet. Sometimes the right move is to fix the drainage, cut the vegetation back, replace one damaged board, recaulk an opening, or repair a localized stucco defect — and leave the rest of the house alone for another couple of years. Catching a condition early and addressing it specifically is usually cheaper than waiting until it’s a reason to repaint the whole house.
Interior Painting Prep: Protecting the Home First
Interior prep begins before any surface work, with protecting the home and respecting that people live in it.
That means moving furniture as needed and covering what stays, protecting floors, covering fixtures, masking cabinets, counters, and built-ins, protecting stairways and high-traffic paths, controlling dust during sanding, and cleaning up at the end of every day. On multi-day interior projects, containment matters as much as coverage. Sanding dust travels, and an unprotected HVAC return will distribute it through the whole house.
Homeowners should not feel like their home has been turned upside down. You should be able to cook dinner, work, and get the kids to bed while the project is underway. Learn more about our residential interior painting services in Jacksonville.
Interior Surface Prep Before Painting
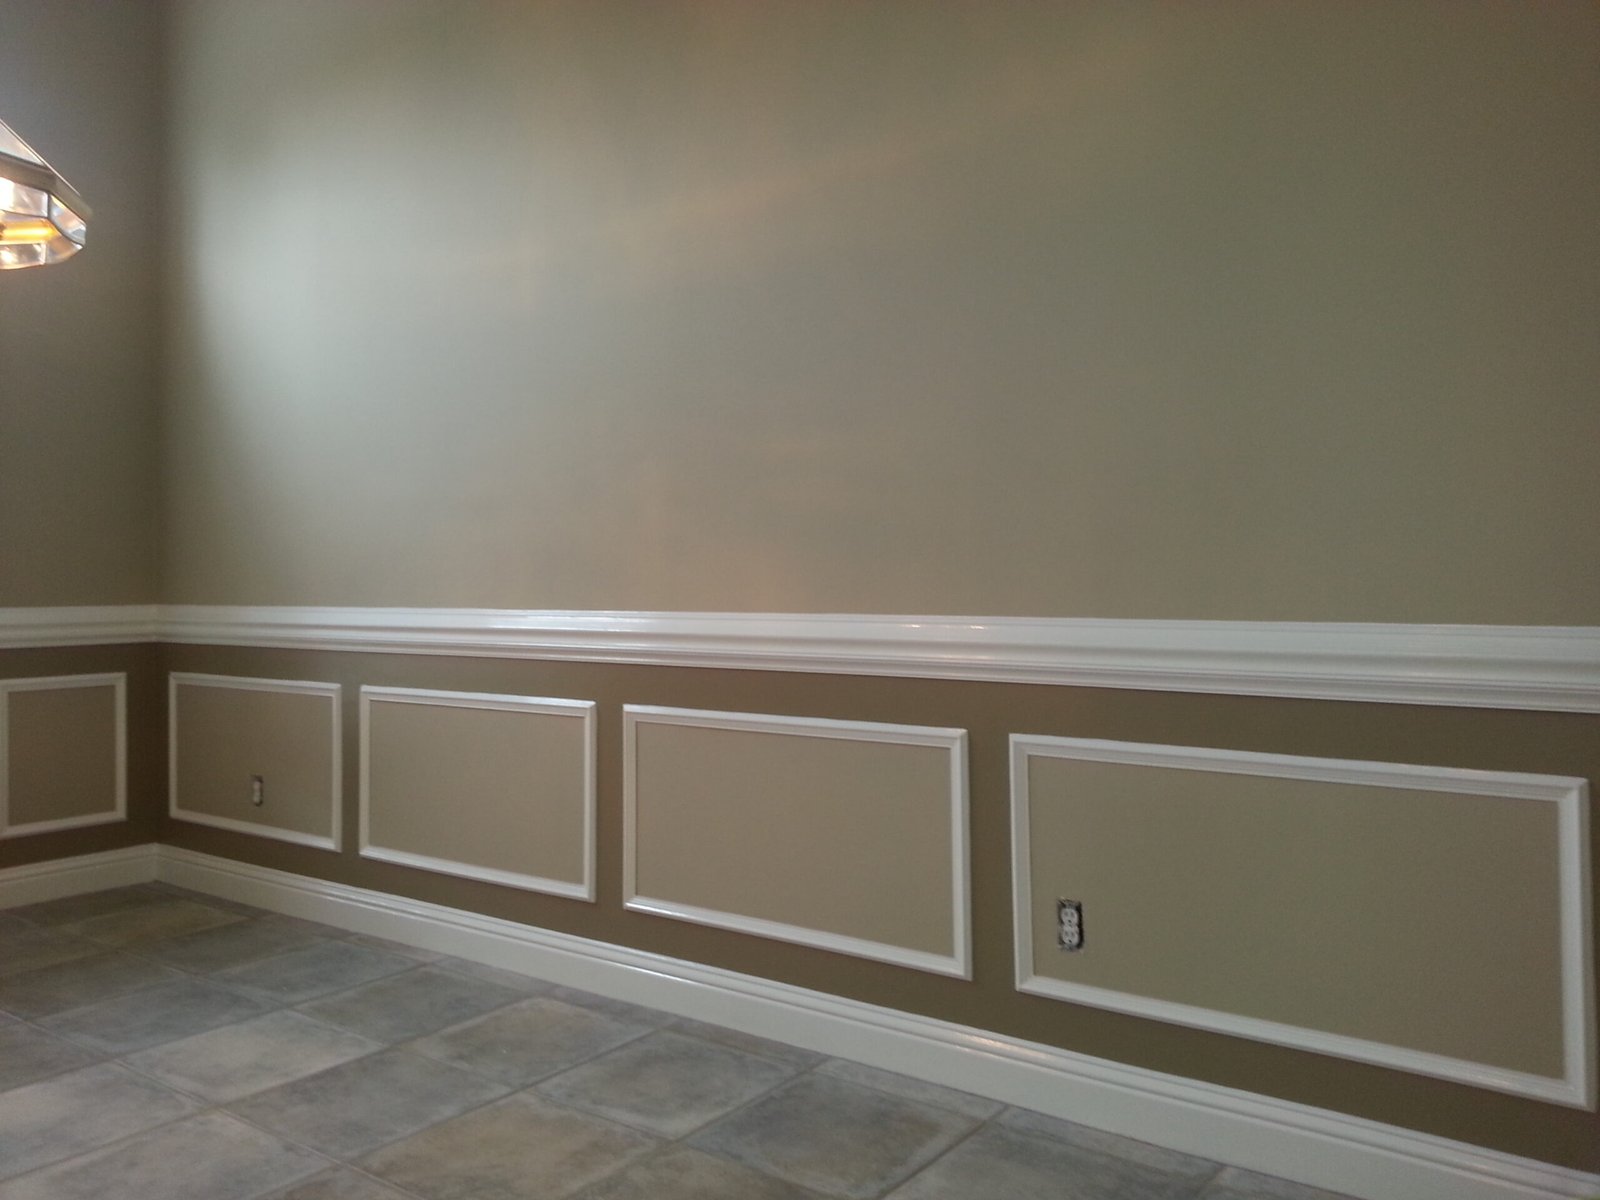
Once the space is protected, the surfaces get their turn. Interior prep typically includes patching drywall, filling nail holes, addressing nail pops, repairing settlement cracks, fixing dents and dings, sanding repairs smooth, caulking trim gaps, cleaning dirty or greasy surfaces, spot-priming stains, and preparing trim, doors, baseboards, and crown molding so enamel bonds properly.
Sheen selection is part of prep planning too, because it has to be decided before product is ordered. Walls, trim, doors, kitchens, and bathrooms each call for something different depending on how the room is used and how much moisture it sees. Our guide to paint sheens for Jacksonville homes covers how we make that call.
Good interior painting prep helps create smoother walls, cleaner lines, better coverage, and a more professional finished appearance. Run your hand across a properly prepped wall and you feel nothing at all — that’s the standard. For anything beyond routine patching, drywall repair before interior painting should be scoped as its own line item.
Exterior Painting Prep: Built for Jacksonville Weather
Exterior prep matters even more here, because the outside of your home is under steady pressure from sun, rain, humidity, mildew, salt air, and the expansion and contraction that works joints and cracks open over time.
A thorough exterior prep sequence includes washing the home, removing mildew and dirt, scraping loose paint, sanding failed coatings, addressing chalking, caulking joints and gaps, repairing stucco cracks, identifying wood rot, priming bare areas, and protecting windows, landscaping, pavers, and exterior fixtures before any coating goes on.
That list is most of the labor on an exterior project. The painting itself is comparatively fast — which is why, when two exterior estimates are far apart, the prep and repair scope is one of the first places worth looking. See our residential exterior painting services in Jacksonville for the full process.
Washing Before Exterior Painting
Washing removes dirt, mildew, algae, cobwebs, chalky residue, salt air deposits near the coast, and general surface contaminants. Without it, everything applied afterward is bonded to the grime rather than the house.
Coastal homes near Atlantic Beach, Jacksonville Beach, Neptune Beach, and Ponte Vedra accumulate salt residue that’s invisible but very much present, and it interferes with adhesion the same way dirt does. Shaded north-facing elevations across Jacksonville hold mildew that will grow back through fresh paint if it isn’t killed and removed first.
One important qualifier: proper cleaning should match the surface, and that isn’t always high pressure. Aggressive washing can drive water into stucco, damage older wood siding, force moisture behind trim, and blast out sound caulk along with the failed caulk. Some surfaces need a low-pressure wash with the right cleaning solution and dwell time rather than brute force. And the surface has to be genuinely dry before coating, not just dry to the touch, which in our humidity can take longer than homeowners expect.
Scraping and Sanding Loose Paint
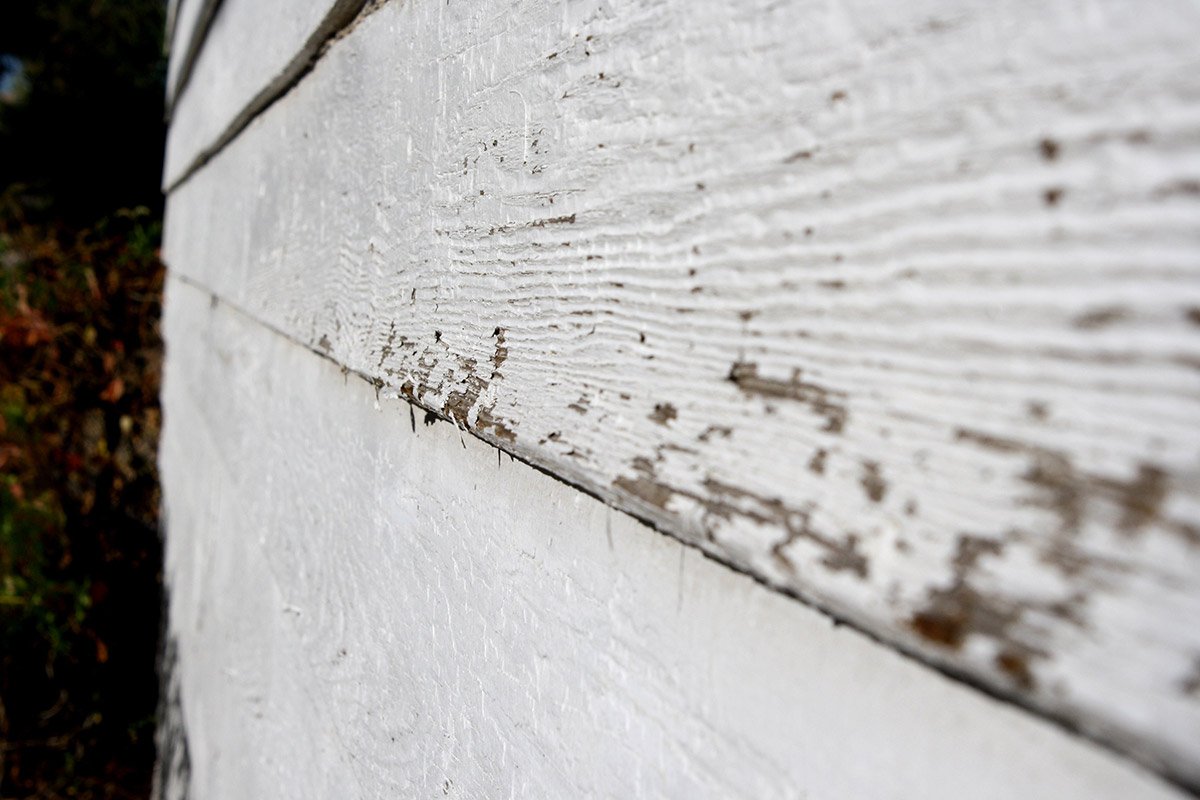
New paint cannot properly bond to old paint that is already loose, peeling, or failing.
This step means scraping peeling areas back to sound material, feather-sanding the rough edges where old coating meets bare substrate so the transition disappears under the new finish, and removing failed coatings entirely where they’ve let go. Skip it and the result is fairly predictable: the new paint looks fine for a season, then lifts in the same places, carrying the fresh coat with it.
Feathering is the part most often rushed. Scraping alone leaves a visible ridge at every repair, and that ridge telegraphs through the topcoat in raking afternoon light.
This is also where the condition of a neglected house becomes clear. A common situation we’re called to: a homeowner notices peeling on one elevation and assumes it’s a small touch-up. When we get up close, the previous coating is breaking down across a much wider area than what was visible from the driveway — some combination of years of sun and moisture exposure, an aging coating at the end of its service life, and maintenance that got deferred while the house looked acceptable from the street.
At that point another coat of paint is not a repair. The failing coating has to come off back to sound material where that’s practical, the reason it failed needs to be understood, and whatever’s underneath needs to be addressed before anything new goes on. That’s a bigger conversation than the homeowner expected to have, and it’s the conversation worth having.
Caulking Gaps, Joints, and Trim
Caulk does two jobs at once: it keeps water out of joints, and it gives trim the crisp, finished line that reads as professional work.
On the exterior, that means window and door joints, siding joints, and fascia and soffit transitions. Inside, it means trim gaps, crown molding, and baseboards where they meet the wall. Failed or cracked caulk should be removed and replaced rather than covered, because caulking over a split joint just hides the opening that’s letting moisture in.
Worth being honest about: caulk is not permanent. Florida sun degrades it, and the daily expansion and contraction of siding, stucco, and trim works joints open over time. Good caulk applied correctly buys years, not decades, and it’s a normal maintenance item between repaints rather than a one-time fix. It’s also the single easiest thing for a homeowner to spot on a walkaround.
Stucco Crack Repair Before Painting
A large share of homes across Jacksonville and St. Johns County are stucco, and cracks need evaluation before anyone quotes paint.
Not every crack is a problem. Some hairline cracking is cosmetic and behaves predictably. Other cracks indicate ongoing movement, moisture entry behind the wall, a previous repair that failed, delamination, or a condition that needs to be understood before anything is coated over it. Telling those apart is an inspection question, not a guess from the driveway — we walk through the difference in our guide to which stucco cracks are cosmetic and which ones matter.
Most of the significant stucco work we do started as something a homeowner could have seen. On a walkaround, stucco is worth a closer look for:
- New cracks that weren’t there last time
- Existing cracks that appear to be widening
- Discoloration or water staining, particularly below windows
- Bulging, or areas that sound hollow where you’d expect solid
- Failed sealant around windows, doors, and penetrations
- Cracks that keep returning in the same place after previous repairs
- Areas that stay wet after everything around them has dried
Repairs need texture matching so the patch doesn’t read as a smooth spot on a textured wall, and moisture behind the stucco has to be considered, because a coating applied over a wet substrate traps that water in place.
The important principle: painting is not a repair for failing stucco. Where the substrate itself is compromised, the repair comes first and the coating comes after. Painting over open cracks produces one of two outcomes, both bad — visible dark lines where the film bridges the gap, or recurring cracking as the wall continues to move and splits the coating along the original line. See our stucco crack repair before exterior painting service, or read more on why stucco repair comes before painting.
Wood Rot Repair Before Painting
Paint can protect sound wood, but it cannot restore wood that is already rotten or structurally compromised.
The usual locations are fascia boards, door and window trim, siding, wood columns, and porch trim. Failed caulk is often the entry point, letting moisture into end grain and joints where it sits and works. By the time paint is peeling in those areas, the wood underneath is frequently already soft.
Wood rot is one of the clearest arguments for looking at your house periodically, because it is usually cheaper and simpler to address early. Replacing a short section of trim is a different conversation from rebuilding a fascia run. Maintenance won’t prevent every case — sustained moisture will eventually find wood regardless — but it meaningfully improves the odds of catching deterioration while it’s still local.
What we watch for, and what you can watch for:
- Failed or missing caulk at joints and end grain
- Exposed, unsealed cut ends on siding and trim
- Peeling paint concentrated in one area rather than spread across an elevation
- Trim that stays wet — under a leaking gutter, in irrigation spray, behind vegetation
- Fascia near a drainage problem
- Open joints where two pieces of trim meet
- Deteriorated or crumbling siding edges
A proper estimate includes probing suspect areas rather than looking at them from the driveway. Soft wood needs repair or replacement before coating, and it’s better to find that during the estimate than after the crew has set up. See our wood rot repair before painting service, or our guide to rotten wood repair and exterior painting.
Priming: The Right Primer, on the Right Surface, for a Reason
This is where I’ll say something that runs against how a lot of estimates are written.
I don’t believe in priming every wall and every house by default. A crew that primes everything by reflex is adding material and labor to a job because “primed” sounds thorough on a proposal, not because the surface called for it. On many residential repaints, automatically priming every previously painted surface delivers limited practical value to the homeowner — and they’re paying for all of it.
Primer should have a defined purpose. The situations where we specify it:
- New drywall, and repaired or patched drywall
- New bare wood, or wood that’s been repaired or exposed by scraping
- Significant color changes, where primer or a tinted primer improves coverage and uniformity
- Stains that need blocking — water, smoke, tannin bleed, rust
- Adhesion-sensitive surfaces, including glossy trim and chalky exterior areas
- Bare masonry or fresh stucco repairs where the specified coating system calls for it
- Metal and specialty substrates
- Any condition where the manufacturer’s system for the selected product requires it
In each case primer is doing identifiable work: improving adhesion, blocking a stain from bleeding through, helping a color reach uniform coverage, or evening out surface porosity so the finish coat doesn’t flash and look blotchy.
To be fair about the tradeoff: if budget were unlimited, there are projects where priming everything would create a more uniform foundation. That’s a real benefit, and I won’t pretend otherwise. But on most repaints it isn’t where a homeowner’s money does the most good, and it isn’t worth padding the proposal to claim it.
Skipping a primer where one genuinely was required can contribute to adhesion problems, stains bleeding through, uneven coverage, or a blotchy finish. The professional judgment is knowing which surfaces need it and which don’t — and then putting that in writing so you can see what you’re paying for and why.
What’s Normal Prep, and What’s a Separate Repair
Homeowners are often unsure where preparation ends and repair begins, and vague estimates take advantage of that. Here’s the line we draw.
Routine preparation — included in the painting scope — covers things like light scraping, routine sanding, standard caulking, filling nail holes, minor surface patching, spot priming, ordinary cleaning and washing, and typical masking and protection. This is the normal work of getting a sound surface ready for coating.
Separate repair items begin where we move into actual substrate deterioration, rebuilding, or replacement:
- Wood rot
- Deteriorated fascia or trim requiring replacement
- Failing wood siding
- Significant stucco cracking, delamination, or localized failure requiring reconstruction
- More extensive drywall repair beyond routine patching
- Structural or moisture-related damage requiring separate evaluation
We prefer to identify these as their own line items rather than folding them into the painting price. It keeps the proposal readable: you can see what’s painting, what’s routine preparation, and what’s genuine repair work — and you can make your own decision about each.
Where a condition can reasonably be identified and scoped up front, it belongs on the estimate as its own item, not buried in an allowance. Some conditions genuinely can’t be known until a surface is opened up, and we’ll tell you that directly when it applies rather than pricing around it.
Product Selection After Prep
Prep and product work together. Excellent preparation with an unsuitable coating still underperforms, and a premium coating over poor prep is working against the surface it’s on.
Products commonly specified on Northeast Florida homes include Sherwin-Williams® Duration, Emerald, and Emerald Rain Refresh for exteriors, Loxon XP for stucco and masonry, and ProMar 200 for interior work, along with Benjamin Moore® Regal Select and Aura.
Worth understanding: these lines sit at different tiers, and the tier matters. A product appropriate for an interior bedroom wall is not the product for a south-facing stucco elevation. One of the more common things we encounter when reviewing another proposal alongside ours is a product specified several quality tiers below what we’d normally recommend for that surface and exposure — which isn’t wrong on its face, but it’s a different project, and it should be a decision the homeowner makes knowingly rather than discovers later.
The right choice depends on interior versus exterior, the substrate itself — stucco, wood, siding, drywall, or trim — the exposure that surface gets, the sheen, the color, moisture levels, and what you want from the finish. A painter who names specific products for specific surfaces is thinking about your house. One who says “we use good paint” isn’t telling you anything.
Why Prep Affects Price — and Why Estimates Come In Far Apart
Compare the scope before you compare the price. Two proposals can sound similar and describe very different projects.
Once you understand what prep involves, the spread between estimates makes more sense. Prep drives cost through the amount of drywall repair required, how much sanding the surfaces need, caulking volume, wood rot repairs, stucco cracks, primer requirements, coat count, overall surface condition, furniture and floor protection, exterior washing, access difficulty, and two-story areas that need staging.
When homeowners tell me another painter came in much cheaper, my first question isn’t about the number. It’s whether the two companies are actually quoting the same project.
Often they aren’t. One proposal may include washing, scraping, caulking, identified repairs, primer where specified, and two finish coats; another may define some of those items differently or exclude them. That doesn’t make the lower proposal dishonest — it may be quoting precisely what it says it’s quoting. It makes it a different scope. The things worth putting side by side:
- Preparation — what specifically is included
- Repairs — identified and priced, or excluded
- Number of finish coats
- Product line specified, by name, per surface
- Property protection and cleanup
- Insurance coverage
- Warranty terms
- Stated exclusions
We won’t always be the lowest proposal on a homeowner’s table, and I’d rather say that plainly than pretend otherwise. What we focus on is appropriate preparation, products suited to the surface, skilled workmanship, protecting your property while we’re there, a scope you can actually read, and accountability after we’re gone. If you want the longer version, we wrote one: why exterior painting estimates vary.
Homeowners aren’t just paying for paint on a wall. They’re paying for preparation, protection, repairs, product knowledge, communication, and accountability.
Questions to Ask About Prep Before Hiring a Painter
- What prep is included in the estimate, specifically?
- Will you protect floors, furniture, landscaping, and fixtures?
- Are drywall repairs included or priced separately?
- Are stucco cracks included or separate?
- Will you check for wood rot, and how?
- Will loose paint be scraped and sanded?
- Will gaps and joints be caulked?
- Which surfaces will be primed, and why those?
- What products will be used on each surface?
- How many coats are included?
- What surfaces are excluded from this estimate?
- Will there be a final walkthrough?
The prep questions are the ones worth pressing on. A contractor who can answer them specifically for your house has looked at your house.
About A New Leaf Painting Contractors
A New Leaf Painting Contractors is a Jacksonville-based residential painting company serving Northeast Florida since 2001, providing interior and exterior painting, drywall repair, stucco repair, wood rot and carpentry repair, cabinet painting, pressure washing, color consultation, and concrete coatings.
We’re a preparation-first company, which usually shows up as a longer estimate and a more detailed scope than homeowners expect. We’re licensed and insured, hold a Duval County Certificate of Competency, and are EPA Lead-Safe Certified and Google Guaranteed, with 750+ verified five-star reviews.
Every project includes a clear written estimate, thorough property protection, and communication from the first call through our process to a final walkthrough. Our workmanship warranty runs two to five years on interior work and five to ten years on exterior work depending on the product system specified — full terms are on our guarantee and warranty page.
If you’re still weighing colors, our color consultation helps you work through palette, lighting, and how colors read against your floors, cabinets, and trim.
Frequently Asked Questions
How often should I inspect my home’s exterior?
There’s no code requirement or industry standard here — this is a practical recommendation. Walking your exterior every three to six months and looking for open caulk, new or widening cracks, soft wood, peeling coatings, water staining, drainage problems, and vegetation against the house gives you a reasonable chance of catching deterioration while it’s still small and local. A lot of large repairs started as something visible that nobody looked at.
Does my whole house need primer?
Usually not. Primer belongs where it’s doing a specific job — bare wood, new or repaired drywall, stain blocking, significant color changes, adhesion-sensitive or chalky surfaces, fresh stucco repairs, metal, and anywhere the selected coating system requires it. Priming every previously painted surface by default adds cost without delivering much practical benefit on most repaints. Ask a contractor which surfaces they’re priming and why.
Should stucco cracks be repaired before painting?
Cracks should be evaluated before painting, and repaired where the evaluation calls for it. Not every crack is significant — some hairline cracking is cosmetic. But painting over open or active cracks tends to produce visible lines or recurring cracking as the wall continues to move, and paint is not a repair for stucco that’s actually failing.
Can you paint over wood rot?
No. Rotten wood should be repaired or replaced before painting. Paint can protect sound wood, but it cannot restore wood that’s already compromised, and coating over rot conceals the problem while the deterioration continues.
Is it ever better to wait rather than repaint?
Yes, and we’ll tell you when we think so. If what your house actually needs is a drainage fix, vegetation cut back from the siding, one damaged board replaced, or a localized stucco repair, doing those things and waiting is often the better use of your money than a full repaint. A repaint over an unaddressed condition doesn’t solve the condition.
Find Out What Prep Your Home Needs
If you’re planning an interior or exterior painting project in Jacksonville, FL or anywhere in Northeast Florida, we can walk your home, show you what we find, and explain what preparation the surfaces actually need before painting begins — including the parts that might mean waiting.
Helpful Painting Resources for Jacksonville Homeowners
Comparing painters or planning a project? These related services and guides answer the questions we hear most. You can also browse all of our residential painting services in Jacksonville.
Related services
- If you’re considering a cabinet update, see our cabinet painting and refinishing services for how that process differs from standard wall painting.
- For larger wall damage, texture issues, or patching, our drywall repair services can be handled before painting begins.
- Not sure how to coordinate colors between rooms? Our color consultation service helps you choose a palette that works with your lighting, floors, cabinets, trim, and furniture.
- You can also review our painting process to see what happens from estimate to final walkthrough.
Choosing a painter and planning your project
- How to Choose a Residential Painter in Jacksonville, FL — what to verify, what to ask, and the red flags worth walking away from.
- What Is Included in a Professional Residential Painting Project? — estimates, prep, protection, repairs, cleanup, and the final walkthrough.
- Why Exterior Painting Estimates Vary — what actually drives the difference between two numbers.
- Residential Interior vs. Exterior Painting — how prep, products, timelines, and pricing differ inside and out.
Cost, products, and timing
- Interior painting cost guide for Jacksonville homeowners.
- Exterior painting cost guide — pricing by home size and surface type.
- Best interior paint for Florida homes
- A guide to paint sheens for Jacksonville homes
- How often to paint your house in Florida — realistic repaint timelines by surface type, plus the signs that say it’s time.
Good paint. Better preparation.
Get a written estimate that spells out exactly what prep is included — and what isn’t.