Can You Paint Wood Paneling? What Homeowners Need to Know
Short answer: yes. Almost every kind of wood paneling can be painted, and done right, it can completely change how a room feels. I’ve painted hundreds of paneled rooms over 25 years in this business, and the finish never comes down to luck — it comes down to what happens before the paint ever touches the wall. Our interior painters in Jacksonville, FL approach wood paneling differently from ordinary painted drywall because the existing factory finish, surface condition, joints, stains, and adhesion all have to be considered before choosing the primer and finish system.
After more than 25 years of interior painting in Jacksonville, FL, we’ve learned that most of the “painted paneling looks bad” horror stories aren’t really paint problems — they’re preparation problems. Paneling may have an existing varnish, stain, clear finish, wax, or other sealed surface that can interfere with paint adhesion if it isn’t properly cleaned and prepared.
The difference between painted paneling that looks professionally finished and a coating that begins peeling, staining, or showing imperfections prematurely usually comes down to what happened before the finish coats were applied: cleaning, deglossing or sanding where appropriate, repairing damaged areas, addressing joints and imperfections, selecting the right bonding or stain-blocking primer, and applying the finish coats correctly. This guide walks through exactly what separates those two outcomes.
For more Jacksonville homeowner guides covering wall preparation, primers, drywall repairs, paint sheen, builder-grade coatings, washable finishes, touch-ups, paint selection, and other common interior painting questions, visit our Interior Painting Resource Center.
Why People Paint Wood Paneling
Every homeowner who calls me about paneling has one of a handful of reasons, and they’re all good ones:
-
- Modernizing a dated room. Dark paneling reads as “1970s den” the second you walk in, even if the rest of the house has been updated.
- Brightening a dark space. Stained wood paneling absorbs light instead of reflecting it. A paneled room can feel like a cave even with good windows.
- Increasing home value. Buyers today generally don’t want dark wood paneling. It’s one of the fastest, cheapest updates that changes how a room shows.
- Avoiding a full remodel. Ripping out paneling means drywall, texture matching, and a mess. Painting it gets you 90% of the visual change for a fraction of the cost and disruption.
- Refreshing an older Florida home. A lot of homes built in the 60s through 80s here in Northeast Florida have paneled family rooms, dens, or basements-that-aren’t-really-basements — Florida rooms, bonus rooms, that kind of thing.
- Getting ready to sell. This is a big one. Paneling is one of the first things a buyer’s agent points out as dated. A clean paint job fixes that fast.
- Just being tired of the “cabin” look. Sometimes it’s not about resale or lighting — people just don’t want to feel like they’re living in a hunting lodge anymore.
Types of Wood Paneling — And Why It Matters What You Have
Before you buy a single can of paint, you need to know what kind of paneling is actually on your wall, because it changes the whole approach:
- Solid wood paneling. Real boards, usually pine, oak, or cedar. Takes paint well once properly prepped, and it’s the most forgiving material to work with long-term because it’s real wood all the way through.
- Veneer paneling. A thin layer of real wood over a plywood or particleboard core. Paints fine, but you have to be gentler with sanding — sand through the veneer and you’ve got a real problem.
- MDF paneling. Manufactured, very smooth, paints beautifully once sealed properly — MDF is thirsty and will soak up paint unevenly if you skip a good primer.
- Knotty pine. Its own animal entirely — I’ve got a full section on this below because it causes more callbacks than anything else on this list.
- Oak paneling. Heavy, open grain, often finished with a thick varnish. Takes more deglossing effort than pine but paints well once you get through that top coat.
- Tongue and groove. Boards that interlock rather than sitting flat against each other — common in older homes and in that classic “board and batten” look. The grooves are where 90% of the “should I fill it or not” question comes from.
- Shiplap. Similar to tongue and groove visually, with a distinct overlapping reveal line. Very popular to paint white right now — holds up great when properly prepped.
- Decorative/grooved sheet paneling. The 4×8 sheets with routed vertical grooves that were everywhere in the 60s and 70s. Usually a thin veneer over particleboard — paints fine but needs careful attention at the grooves.
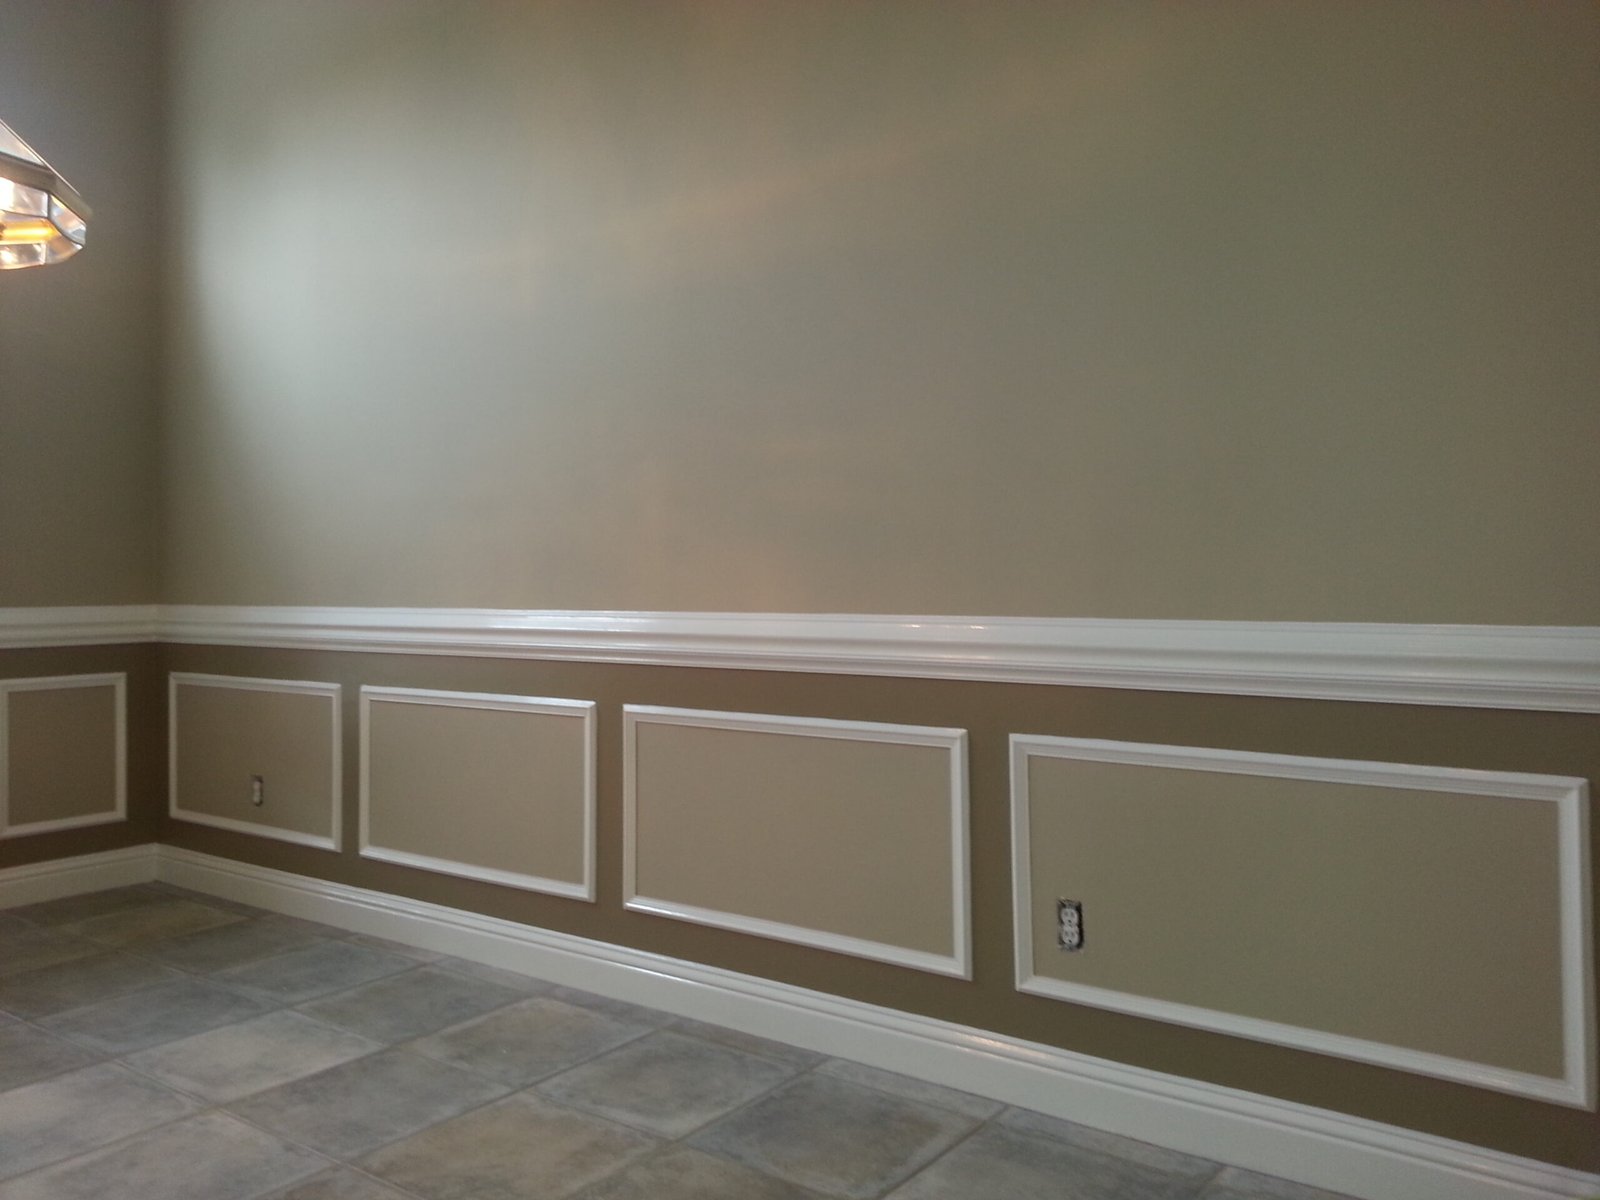
- Beadboard. Narrow vertical planks with a rounded bead detail — common in bathrooms, mudrooms, and wainscoting. Takes paint beautifully and is one of my favorite surfaces to paint because the detail really pops with the right sheen.
- Modern wall paneling / accent panels. The newer geometric or shiplap-style accent walls people are installing intentionally, sometimes even pre-primed MDF. Usually the easiest of the bunch since it’s often designed to be painted from day one.
Should You Fill the Grooves First?
This is the question I get asked more than almost anything else on a paneling job, and there’s no single right answer — it depends on the look you’re after.
Filling the grooves gives you a smooth, flat wall that reads like drywall once it’s painted — no shadow lines, no texture. That’s the modern look most people picture when they say they want their paneling to “just look like a normal wall.”
Leaving the grooves keeps the architectural detail — the shadow lines add texture and depth, especially with a good light source raking across the wall. A lot of shiplap and beadboard looks specifically rely on those grooves staying visible; filling them defeats the purpose of the style.
The honest tradeoff is labor and cost. Filling grooves means caulk or wood filler in every single seam, sanding it flush, and often a skim coat over the whole wall to hide any texture difference between the filled grooves and the flat panel face — that’s real time, and it adds up fast on a full room. Leaving the grooves as-is means less prep labor but the finished look will always read as “paneling that’s been painted” rather than “a smooth wall.” Neither is wrong. It comes down to whether you want the traditional plank look or a clean modern finish.
The Biggest Mistakes Homeowners Make
I’ve been called in to fix more DIY paneling jobs than I can count, and it’s almost always one of these:
- Skipping the cleaning step. Paneling accumulates decades of grease, nicotine residue, dust, and general grime. Paint over that and you’re painting over a bond-breaking layer of filth — it will not stick.
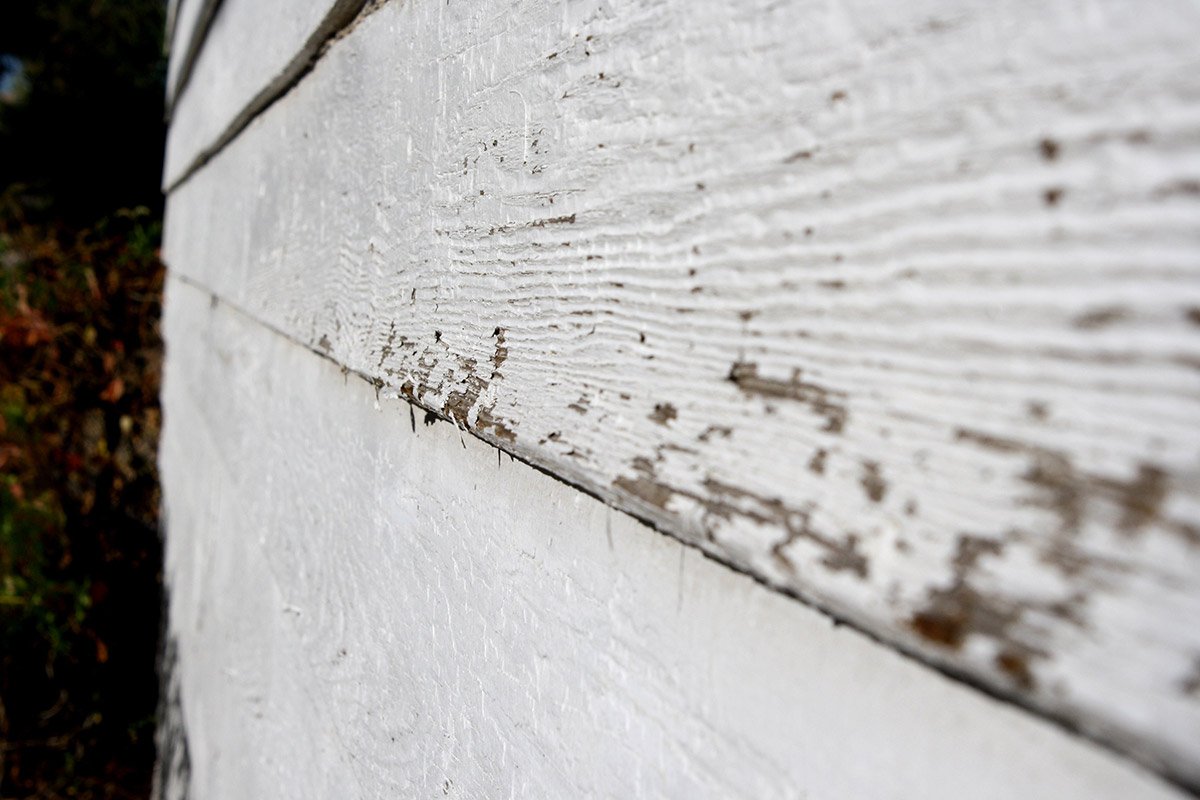
- Skipping sanding entirely. Most factory paneling finishes are glossy on purpose. Paint doesn’t grip a shiny surface. Skip sanding and you get peeling, sometimes within months.
- No primer, or the wrong primer. This is the single biggest cause of failure I see. Standard wall paint is not built to bond to a sealed wood surface or block stains from bleeding through.
- Cheap paint. Budget paint has less binder and pigment, which means poorer adhesion and coverage — you’ll be doing this again in three years instead of fifteen.
- Skipping caulk at the grooves and seams. Even if you’re not filling the grooves flat, the seams and any gaps at trim need to be caulked, or you’ll get hairline cracking and dirt collection in those lines over time.
- Painting directly over wax. Some older paneling was waxed rather than varnished. Paint over wax and it will eventually lift in sheets — you have to strip it first.
- Painting over nicotine or smoke staining without blocking it. This will bleed through almost any regular paint, sometimes months later, as a yellow-brown shadow. It needs a real stain-blocking primer, not just a coat of primer-and-paint-in-one.
- Ignoring moisture. Especially relevant here in Florida — paneling in a room with a history of humidity issues, or on an exterior wall with poor insulation, needs that moisture problem solved before you paint, or you’re just sealing trouble in.
Step-by-Step: The Professional Process
Here’s the actual sequence I follow on every paneling job, and why each step earns its place:
- Inspection. I check for damage, loose panels, moisture staining, and what kind of factory finish is on the wood — wax, varnish, or raw. That determines the rest of the plan.
- Cleaning. A degreasing cleaner, not just soap and water, especially in kitchens, dens, or any room with a history of smoking. This removes the grime that would otherwise sit between the wood and your primer.
- Repairs. Loose panels get re-secured, damaged grooves or gouges get filled, and any water-damaged sections get addressed before anything else happens.
- Caulking. Seams, gaps at trim, and — if you’re filling grooves — the grooves themselves. This step is what gives you clean, crisp lines in the finished product.
- Deglossing. A liquid deglosser or a scuff sand knocks down the sheen of the factory finish so primer actually has something to grip.
- Sanding. Beyond deglossing, a light sand smooths any rough grain, filled areas, and repairs so they don’t telegraph through the paint.
- Dust removal. Sounds obvious, but a tack cloth or vacuum pass before priming is what separates a smooth finish from one with visible grit under the paint.
- Stain blocking. For knots, water stains, or nicotine — this is a separate concern from priming for adhesion, and I’ll often use a dedicated stain-blocking product specifically for problem areas even when the rest of the wall gets a standard bonding primer.
- Priming. The single most important step on this whole list. The right primer for your specific paneling type is what actually makes the paint stick and stay stuck — more on this below.
- Painting. Two full coats, properly cut in at trim and grooves, using a product built for the sheen and durability the room needs.
- Final inspection. I check every groove, seam, and corner in good raking light — the kind of light that shows every flaw — before calling a job done.
Best Primer for Wood Paneling
This is where most DIY jobs go wrong, so let me be specific:
- Shellac-based primer. The strongest stain blocker available, and my go-to for knots, water stains, smoke damage, and nicotine. It dries fast and seals almost anything. The tradeoff is strong odor and cleanup with denatured alcohol rather than water.
- Oil-based primer. Excellent adhesion to glossy, varnished surfaces and good stain blocking, with a slower dry time and longer odor than shellac. A solid all-around choice for oak or heavily varnished paneling.
- Bonding primers. Water-based products specifically engineered to grip slick, glossy surfaces — a good middle ground when you want strong adhesion without the smell and cleanup of oil or shellac.
- Dedicated stain blockers. Sometimes used as a spot-treatment layer over problem areas (knots, old water stains, nicotine) before the whole wall gets a standard bonding primer over the top — this combination gives you targeted stain protection without primering the entire room in shellac.
Which one you need depends on what’s actually on your wall. A clean, never-smoked-in room with light varnish might only need a good bonding primer. A knotty pine den that’s seen forty years of use is getting shellac on the knots, minimum.
Best Paint for Wood Paneling
Once you’re primed correctly, paint selection matters, but it’s a much smaller variable than people think. I generally recommend premium lines — Sherwin-Williams Emerald or Benjamin Moore Aura for interior work — because the added washability and coverage matter on a surface with this much texture and detail.
Sheen matters more on paneling than on a flat wall:
- Flat/matte — hides surface imperfections well, but paneling’s grooves and grain can make flat paint look slightly uneven under certain lighting; I use this less often on paneling than on smooth drywall.
- Eggshell — a strong middle-ground choice for most paneled living spaces; enough sheen to be washable, not so much that every imperfection shows.
- Satin — my most common recommendation for paneling specifically. It highlights the grooves and detail nicely without being glossy, and it holds up well to cleaning.
- Semi-gloss — great for beadboard, wainscoting, and trim-adjacent paneling where you want a crisper, more polished look, though it will show more of any surface flaw underneath.
Can You Paint Knotty Pine?
Yes — but this is the section I want every knotty pine homeowner to actually read, because it’s the single biggest source of callback complaints in this whole category.
The knots themselves contain a high concentration of resin, and that resin will bleed through standard paint and primer as a yellow-brown stain — sometimes not immediately, but months later once the wall has had time to warm up through a few seasons. This is the number one reason people think their paneling paint job “failed” when really it was never sealed correctly to begin with.
Sap bleed is closely related — even knots that look dry can still weep sap slowly over years, especially in a room that gets direct sun and heat.
Yellowing can happen even without visible knots, since pine as a species has natural tannins that can discolor lighter paint colors over time if the primer wasn’t a true sealer.
The fix is simple and non-negotiable: shellac-based primer on every knot, no exceptions. I spot-prime every single knot with shellac before the wall gets its regular primer coat, even on rooms where the rest of the wood looks totally clean. I’ve seen too many “we’ll be fine, it’s not that bad” jobs come back two years later with bleed-through spots.
Long-term performance: knotty pine properly primed with shellac on the knots and a good bonding primer elsewhere holds paint just as well as any other wood species — the knots are the only special consideration, not the wood in general.
Can You Paint Over Stained Paneling?
Yes, and this is actually one of the more common jobs I do. A few things determine how much prep it needs:
- Oil stain alone (no topcoat) — needs a good scuff sand and a bonding or oil-based primer; stain by itself doesn’t fight paint as hard as a sealed finish does.
- Polyurethane topcoat — this is a hard, plastic-like finish that paint won’t grip without real deglossing or sanding first. Skipping this step is a top cause of peeling.
- Clear coat / lacquer — similar to polyurethane; needs mechanical roughing up (sanding or deglosser) before primer.
- Varnish — same story; varnish is a sealed, glossy film that needs to be broken before anything will bond to it.
Adhesion in every one of these cases comes down to the same principle: paint needs something to physically grip onto, or a chemical bond from the right primer. A glossy, sealed surface offers neither until you sand it or deglosser it and follow with a bonding primer.
Should You Hire a Professional, or DIY?
DIY makes sense when: it’s a small room, you have the time to do proper prep (which is most of the job), and you’re comfortable with sanding, priming, and cutting in clean lines around grooves and trim.
Hiring a professional makes more sense when: the room is large, the paneling has significant staining or repair needs, you want a sprayed finish rather than a rolled one, or you simply don’t have several full days to dedicate to prep work that has zero visual payoff until the actual paint goes on.
Spraying vs. rolling is a real factor in the finished look. Spraying gets into every groove and detail evenly and gives the smoothest possible finish, but it requires serious masking and dust control to do in an occupied home — that’s a big part of why people hire this out rather than DIY it. Rolling and brushing can absolutely produce a great result too, it just takes more careful technique in the grooves to avoid heavy buildup or missed spots.
Dust control matters more on a paneling job than people expect, especially if you’re filling grooves and sanding a skim coat across a whole room. Professional setups contain that dust; a DIY job in a lived-in house can spread fine sanding dust further than you’d think.
Time savings is the honest bottom line — a professional crew can usually complete a full room in the time it takes a homeowner to do just the prep work on a weekend or two.
Cost to Paint Wood Paneling in Jacksonville
Costs vary based on room size, paneling condition, whether you’re filling grooves, and DIY versus professional labor. The real cost drivers are consistent no matter who’s doing the work:
- Room size — a small den costs meaningfully less than a whole-house paneled interior
- Condition of the existing finish — heavy staining, wax, or damage adds prep time and cost
- Groove filling — adds real labor if you want the smooth, modern look versus leaving grooves as-is
- Repairs — loose panels, water damage, or gouges found during inspection
- DIY materials — primer, paint, caulk, sanding supplies, and any rental equipment if you’re spraying
- Professional labor — reflects the prep-heavy nature of this work; a paneling room typically takes more labor hours than the same square footage of drywall
For a general sense of interior painting cost ranges in our market, see our interior painting cost guide — paneling projects generally run toward the higher end of interior ranges given the extra prep involved, but a full, itemized estimate for your specific room is the only way to get an accurate number.
How Long Will Painted Paneling Last?
Done right — full prep, correct primer, quality paint — painted paneling holds up just as long as any properly painted interior wall, often 10 to 15 years or more before it needs attention again. Done wrong, with skipped prep or the wrong primer, you can see peeling or bleed-through within a year or two.
Maintenance is straightforward: gentle cleaning with a mild soap and water, prompt touch-ups on any scuffs before they spread, and keeping an eye on any areas near moisture sources.
Florida humidity is worth calling out specifically. Our climate puts more stress on any interior finish than a drier region would, particularly in rooms with limited HVAC coverage — Florida rooms, converted garages, and bonus rooms are common culprits. A quality, breathable interior paint and proper ventilation both help protect the finish over time.
Real-World Results: What We’ve Learned After Painting Wood Paneling for 25 Years
A few things I’ve picked up that you won’t find in a general painting article:
Which paneling produces the best finished appearance. In my experience, tongue and groove and beadboard consistently give the best painted result — the grooves create real shadow lines and depth that flat drywall just doesn’t have, and it photographs beautifully. Decorative sheet paneling with routed grooves tends to look the “flattest” once painted, since the veneer surface itself doesn’t have much texture beyond the groove lines.
When filling grooves is worth it — and when it isn’t. I generally tell homeowners to fill grooves when they want the room to read as a completely modern, drywall-style space, especially in a formal living area. I tell them to leave the grooves when the room has a farmhouse, coastal, or traditional design direction, since the texture is doing real design work in that style — filling it in those cases is extra cost for a look that fights the room’s intent.
The biggest prep mistakes I see after DIY attempts. Far and away, it’s skipped or inadequate primer — either no primer at all, or a cheap all-in-one paint-and-primer product used on a glossy, sealed surface it was never designed for. Close second is not addressing knots or old stains with a real stain blocker, which shows up as bleed-through months after the homeowner thought the job was finished.
How different primers perform after 5 to 10 years. Shellac-primed knots essentially never bleed through again — it’s a permanent seal. Bonding primers on properly deglossed varnish hold up extremely well over a decade. The failures I get called out to fix almost always trace back to a standard wall primer used on a glossy or knotty surface it wasn’t built for.
Why some painted paneling still looks great a decade later while other jobs fail in a few years. It’s never the paint brand. It’s whether the prep matched what was actually on the wall. The jobs that hold up are the ones where somebody took the time to identify wax versus varnish, knots versus clean wood, and moisture history — and matched the primer and process to that reality instead of treating every wall the same.
Information Homeowners Rarely Get Told
When you should NOT paint paneling. If the paneling is solid, valuable, old-growth wood in excellent original condition — some mid-century homes have genuinely beautiful walnut or mahogany paneling — painting over it is permanent and can actually reduce a home’s value to the right buyer. Get a second opinion before painting anything that might be a real design asset rather than a dated finish.
Moisture testing. If a paneled room has ever had a leak, flooding, or persistent humidity issues, it’s worth checking moisture levels in the wall before painting. Sealing paint over an active moisture problem just traps it.
Old smoke damage. Beyond the visible staining, heavily smoke-damaged paneling can carry an odor that paint alone won’t fully seal — a dedicated odor-sealing primer is sometimes needed in addition to stain blocking.
Lead paint concerns. If your paneling — or trim near it — was ever painted before 1978, it’s worth testing before any sanding. Sanding lead paint creates hazardous dust. This is a real safety issue, not a formality.
Wallpaper over paneling. Occasionally I run into paneling that someone previously wallpapered directly over. That wallpaper needs to come off, and the adhesive residue needs to be cleaned, before any paint prep can start.
Texture differences after groove filling. Even a well-filled groove can show a subtle texture difference from the panel face under certain light unless a skim coat is applied across the whole surface — worth discussing upfront if a perfectly flat wall is the goal.
Repairing damaged grooves. Cracked or split tongue-and-groove boards need actual wood repair, not just filler, or the crack will telegraph back through paint within a year or two as the wood continues to move.
Best room colors. Warm whites and soft neutrals are the most requested colors for painted paneling right now, since they brighten the room while still reading as intentional rather than stark.
Lighting. Grooved and textured surfaces show every flaw under raking light — the kind that comes in low from a window or a floor lamp. It’s worth viewing paint samples in the room at different times of day before committing, especially with satin or semi-gloss sheens.
Resale value. Painted paneling, done well, is consistently one of the better return-on-investment updates for older homes — it’s relatively low cost against how much it changes a buyer’s first impression of a room.
Modern design trends. Painted shiplap and board-and-batten style paneling — often installed fresh rather than original to the home — remain popular as an intentional accent wall feature, a different use case than “fixing” old dated paneling but worth mentioning since the painting considerations overlap significantly.
Frequently Asked Questions
Can you paint fake wood paneling?
Yes. Veneer and laminate-style paneling can be painted, though laminate surfaces need a bonding primer specifically designed to grip non-porous surfaces, since standard primers won’t adhere well.
Do grooves have to be filled?
No. It’s a design choice. Filling gives a smooth, modern wall; leaving them gives a traditional, textured look. Both hold up fine long-term when properly painted.
Can paneling be sprayed instead of rolled?
Yes, and spraying often gives the smoothest, most even finish in the grooves — but it requires thorough masking and dust containment, which is a big reason people hire this out rather than DIY it.
Should trim match the paneling color?
Not necessarily — many homeowners paint the panel walls one color and keep trim white or a contrasting tone for definition, though a monochromatic look is also popular for a cleaner, more modern feel.
Can paneling be painted white?
Yes, and it’s one of the most requested colors — but white shows imperfections and any bleed-through more than darker colors, so proper prep and primer matter even more.
Will knots bleed through the paint?
They can, if not sealed with a shellac-based primer first. Skipping this step is the single most common cause of yellow-brown staining showing up months after painting.
What sheen looks best on paneling?
Satin is my most common recommendation — it highlights the groove detail without being overly glossy, and it holds up well to cleaning.
Should I remove the paneling instead of painting it?
Only if it’s damaged beyond repair or you specifically want a completely flat drywall look with zero texture. For most homeowners, painting achieves the visual update at a fraction of the cost and disruption of removal.
How many coats of paint does paneling need?
Two coats over a properly applied primer coat is the standard for full, even coverage and long-term durability.
Can I paint over paneling that’s already been painted before?
Yes — check the existing paint for adhesion issues first (peeling, chalking), address any problem areas, then a light sand and appropriate primer over sound existing paint works well.
Does paneling need to be primed if it’s already light-colored?
Yes. Color alone doesn’t tell you whether the surface is sealed, waxed, or glossy — primer is about adhesion and stain-blocking, not just covering color.
How long does a paneling paint job take?
For a typical room, expect prep to take longer than the actual painting — often several days total when you count cleaning, repairs, caulking, sanding, and primer dry time before the topcoats go on.
Can I paint over paneling with a roller, or do I need a brush?
A combination works best — a small roller for the flat panel faces and a brush to cut in the grooves and edges cleanly.
What causes paint to peel off paneling after it’s done?
Almost always inadequate prep — painting over a glossy, unsanded, or unprimed surface, or skipping deglossing on a heavily varnished finish.
Is oil-based or water-based primer better for paneling?
Both can work well depending on the situation — oil-based and shellac primers offer stronger stain blocking and adhesion to glossy surfaces, while water-based bonding primers offer easier cleanup and lower odor with strong adhesion on properly deglossed surfaces.
Can painted paneling be repainted again later if I change my mind?
Yes, and it’s much easier the second time — once paneling has a good painted base coat, future color changes are a standard repaint rather than a full prep-from-scratch project.
Does humidity affect painted paneling in Florida?
It can, particularly in rooms with limited air conditioning coverage. Good ventilation and a quality, appropriate interior paint both help the finish hold up over time.
Will painting paneling make a small room look bigger?
Often yes, especially with a lighter color — dark paneling tends to make a room feel smaller and more enclosed, and a lighter painted finish reflects more light.
Can you paint over paneling with visible water stains?
Only after the moisture source is fixed and the stain is treated with a proper stain-blocking primer — painting over an active or unsealed water stain will let it bleed through.
Should I hire a painter or a general contractor for a paneling project?
A painting contractor experienced specifically with paneling and wood surfaces is generally the right call for the painting and prep itself; a general contractor is only needed if you’re also doing structural repairs or removal.
Conclusion: Should You Paint Your Wood Paneling?
If you’ve got dated, dark, or stained wood paneling and you’re not ready for a full remodel, painting it is almost always the right move — it’s one of the highest-impact, lowest-disruption updates you can make to a room. The only real question is whether you tackle the prep work yourself or bring in someone who does this every week, because the prep is where every good — or bad — paneling job is actually decided. Get the cleaning, deglossing, stain-blocking, and primer right, and the paint itself is the easy part.
If you’re weighing your options, we’re glad to walk your specific room, tell you honestly what kind of paneling you’ve got, and give you a straight answer on what it’ll take.
Ready to talk through your paneling project? Schedule a free, no-pressure consultation. Call 904-615-6599.