
A Water Stain Is Usually Telling You Something
A brown or yellow ring on the ceiling is almost never the actual problem. It is the visible result of water that came from somewhere else — a plumbing line, the roof, a window or exterior detail, or condensation. The stain is a symptom.
That matters because it changes the order of the work. Painting over a ceiling while water is still finding its way in will not hold. The stain will bleed back through, and in many cases the drywall behind it keeps softening while the surface looks finished. A fresh coat of paint does not stop a leak and does not protect a ceiling from further water damage.
The sequence that actually works is straightforward: find and correct the moisture source first, let the area dry completely, then assess whether the drywall is simply discolored or physically damaged. Once the ceiling is dry and sound, the stained area can be repaired if needed, sealed with a stain-blocking primer, and repainted.
This guide walks through that process — what to look for, what homeowners can reasonably handle, and where the repair and repainting side of the work is worth handing to an interior painting crew. We repair and repaint ceilings across Jacksonville and Northeast Florida, and the ceilings we see most often are the ones that were painted before the leak was fixed.
Identifying the source of the water damage
Before anything cosmetic happens, the water has to stop. Here is where it usually comes from.
Plumbing. Supply lines, drain lines, and fixtures in the floor or wall above the stain. A stain directly beneath an upstairs bathroom, kitchen, or laundry area is worth investigating from that side first.
The roof. Damaged or lifted shingles, failed flashing at valleys and penetrations, or a compromised seal around a vent stack or chimney. Roof-sourced stains often appear some distance from the actual entry point, because water travels along framing before it drops.
Windows and the exterior envelope. If the stain sits near an exterior wall, look at the wall assembly as well as the ceiling. Failed exterior sealant, worn caulking at window perimeters, missing or incorrectly installed kickout flashing, and unsealed stucco transitions all let water behind the finish. If you are also seeing paint peeling around your windows, that is a related signal worth following. Where the issue traces back to cracked or open stucco details, that needs correcting as part of stucco repair before any interior repaint.
Condensation and ventilation. Not every ceiling stain is a leak. In Florida’s humidity, condensation on uninsulated ductwork, poorly ventilated attic space, or an HVAC drain pan that is backing up can produce staining that looks like a roof leak. Bathroom exhaust fans that vent into the attic instead of outside are another common one. Persistent moisture and poor airflow show up elsewhere too — it is the same mechanism behind mildew on soffits.
To be clear about our own scope: we are a painting contractor. We do not perform roofing repairs, plumbing repairs, leak detection, mold remediation, or water mitigation. If the source has not been identified yet, that is the call to make first — a roofer, a plumber, or an HVAC contractor, depending on where the evidence points. Once the leak is corrected and the ceiling is dry, the repair and repainting side is ours.

Can I Paint Over a Water Stain on My Ceiling?
Yes — but only after the moisture source has been corrected and the ceiling is dry and sound. Painting before that point is not a repair; it is a cover-up with a short shelf life.
Once the ceiling is genuinely dry, there is a second thing to understand: ordinary ceiling paint usually will not hide a water stain on its own. Water stains are caused by dissolved minerals, tannins, and other soluble material that the water carried through the drywall and deposited at the surface as it evaporated. Those compounds can migrate into a fresh waterborne coating and reappear through it, sometimes within days. This is why a stain that looked covered after one coat comes back as a faint ring a week later.
A stain-blocking primer is what prevents that. It is formulated to seal the discoloration so it cannot bleed into the finish coat. Both waterborne and oil-based stain-blocking primers are made for this purpose; oil-based and shellac-based products are generally the more aggressive blockers on heavy staining, while waterborne versions are lower in odor and easier to work with. Check the product’s own data sheet for the stain types it is rated to block and the recommended film thickness — that is the specification that matters, not the category name on the label.
Gathering supplies and equipment
What you need depends on what the ceiling actually requires. Sort that first, because the list is very different for each case.
If the ceiling only needs cleaning and repainting: drop cloths or plastic sheeting, a ladder, gloves and eye protection, a soft cloth or sponge, mild detergent, stain-blocking primer, ceiling paint, a brush, and a roller with an extension pole.
If drywall is damaged: add joint compound or a patching compound, a taping knife, drywall tape or a patch, sanding sponges or a pole sander, and a means of dust control.
If the ceiling has texture: add whatever is needed to match the existing pattern, which is a separate skill from the patching itself and the part most repairs get wrong.
Have everything staged before you start. Priming and painting a ceiling is awkward work overhead, and stopping partway through a coat to go find a tool is how lap marks happen.
Preparing the affected area
Preparation is most of the job on a ceiling, and it is unforgiving because overhead work shows every shortcut under side light.
- Protect the room. Cover floors and furniture with drop cloths or plastic sheeting. Ceiling work drips and spatters more than wall work.
- Protect yourself. Gloves and eye protection are not optional when you are working above your head with primer and sanding dust.
- Check the drywall before you commit. Press gently around the stained area. If it feels soft, spongy, or swollen, or if the paper face is separating, that section needs repair rather than paint. A ceiling that has been wet long enough to go soft will not regain its strength as it dries.
- Remove loose material. Flaking paint, lifted paper, and crumbling compound should come off before anything goes on. Painting over loose material guarantees the new coating comes off with it.
- Sand repaired areas. Feather the edges of any patch so the transition is flat. Ridges and tool marks telegraph straight through finish paint.
- Remove the dust. Vacuum or wipe down the surface before priming. Primer will not bond properly to a dusty ceiling, and drywall sanding dust is fine enough to be invisible until it costs you the adhesion.
Removing the water stain
This section is where most advice online goes wrong, so it is worth being precise.
The goal is not always to chemically erase the discoloration. If the moisture source has been corrected and the drywall is sound, what determines the finished result is preparation and stain blocking — not how hard you scrub.
There are two different things going on, and they call for different responses:
Surface contamination — soot, general grime, or mildew sitting on top of the paint film — can often be cleaned. Use a mild detergent solution and a soft cloth, work gently, and let the surface dry fully before going further. Do not scrub aggressively on a ceiling; flat ceiling paint burnishes easily, and a polished patch will show under light even after repainting.
Residual discoloration inside the drywall is not a cleaning problem. The minerals and tannins that produced the stain are in the substrate, not on it. No amount of washing removes them, and continuing to work at the surface only risks damaging the paint film and soaking drywall you have just finished drying out. This discoloration may remain fully visible right up until it is primed — that is normal and not a sign anything is wrong.
Two cautions worth stating plainly. Never mix cleaning chemicals — combining bleach with ammonia or with other household cleaners produces toxic gas. And do not apply cleaner, primer, or paint to a ceiling that is still damp or where the leak has not been confirmed fixed.
Repairing the ceiling
If the drywall is only discolored, you can move to priming. If it is damaged, it needs repair first.
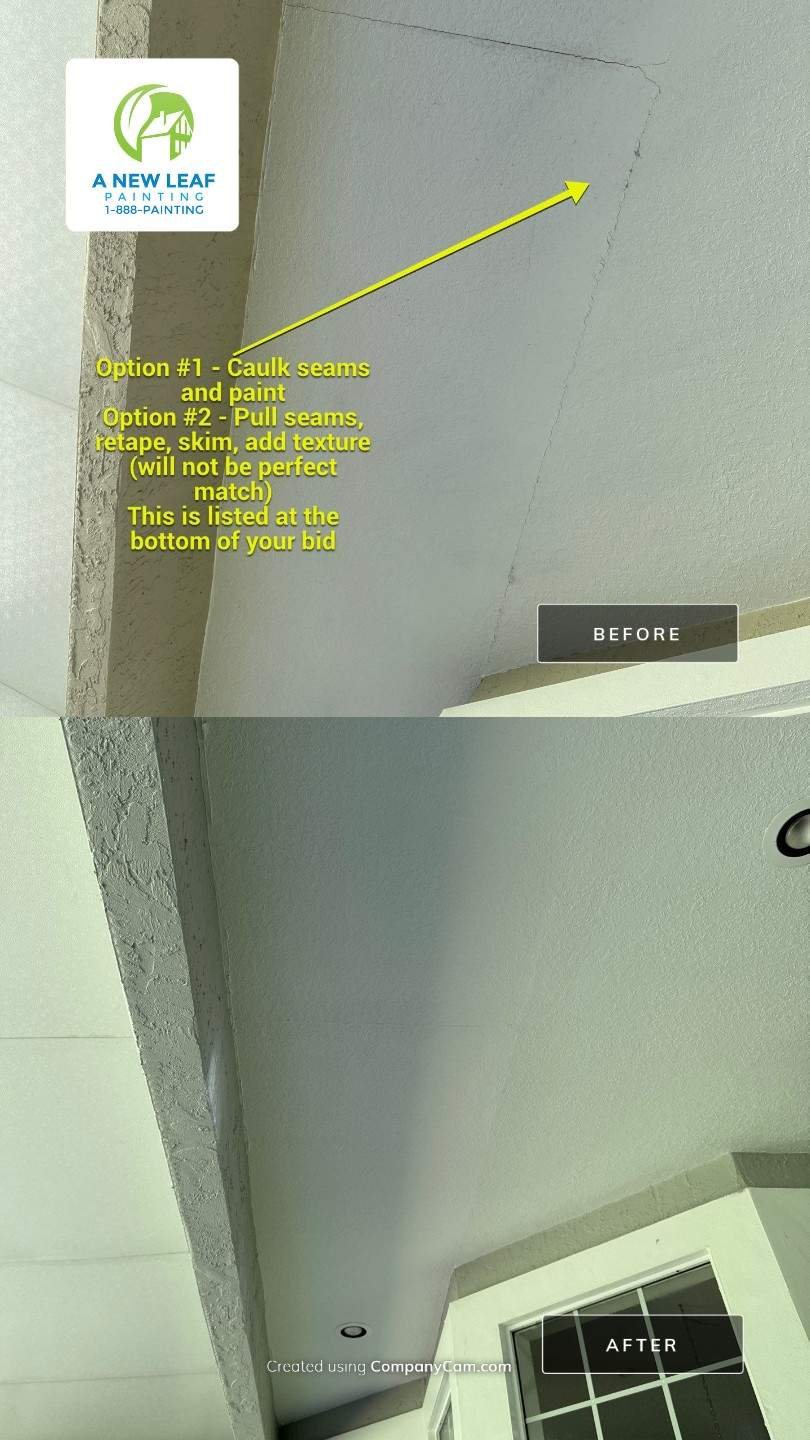
Damaged drywall means anything soft, swollen, sagging, crumbling, or showing separated paper facing. Cut back to sound material, patch with drywall or an appropriate patching compound, tape the joints, and build up compound in thin coats rather than one thick pass. Loose paper and failing joint compound should never simply be painted over — the coating is only as stable as what it is bonded to.
Feather and sand each repair so the patch sits flush with the surrounding plane. This step is the one that decides whether the repair disappears or announces itself. Patched areas also absorb primer and paint differently than the aged coating around them, which is why repairs can still show through a finish coat even when the patch itself is flat — we cover that in detail in why drywall repairs show through paint.
If the ceiling is textured, matching the existing pattern is its own step. A perfectly flat patch in a knockdown or orange peel ceiling reads as an obvious smooth island once the light hits it. Matching texture takes the right compound consistency and the right technique, and it is the part of the work homeowners most often ask us to come back and fix. Our drywall repair work is built around getting the patch and the texture right before any primer goes on.
Painting over ceiling water stains
With the ceiling dry, sound, and prepared, the finish work comes down to two decisions: what you prime with, and how much of the ceiling you paint.
Primer selection matters more than the topcoat here. Apply a stain-blocking primer over the affected area — and over any repairs — following the manufacturer’s directions for coverage and recoat time. Skipping this step, or using a general-purpose primer that is not rated for stain blocking, is the most common reason a stain reappears weeks later.
Match the finish paint as closely as you can. Same product and same sheen as the surrounding ceiling if you know what is up there. Flat is the standard for ceilings because it hides imperfections and reduces glare, but a flat from one line will not necessarily match a flat from another. If you are choosing a new ceiling product, our guide to the best paint for ceilings in Florida homes covers what to look for.
Expect spot repairs to be visible. Touch-ups on a ceiling flash more readily than on walls. The surrounding paint has aged, collected dust, and may have shifted slightly in color; the new area has different porosity and a different sheen. Ceilings also catch raking light from windows and fixtures, which reveals differences you would never notice on a wall.
Often the better answer is to paint the whole ceiling plane. Corner to corner, in one session, with a consistent roller technique. It takes more paint and more time than a spot repair, but it removes the flashing problem entirely rather than hoping it will not show. On a ceiling that has had a leak and a patch, this is usually what we recommend.

Need Help Repairing and Repainting a Water-Stained Ceiling?
If the source of the moisture has already been corrected and the ceiling is dry, we can handle the restoration side of the work.
Depending on what the ceiling needs, that may include drywall repair and texture matching, surface preparation, stain-blocking primer, and repainting the ceiling. If the ceiling has aged popcorn texture that is difficult to patch and match, popcorn ceiling removal is sometimes the more practical route than trying to blend a repair into it. Ceiling work also pairs naturally with a room repaint, which our interior painting crews handle as one project.
What we do not do is repair the leak itself. We do not perform roofing, plumbing, HVAC, leak detection, mold remediation, or water mitigation work. If you are not certain the source has been resolved, that needs to come first — and we would rather tell you that on the walkthrough than paint a ceiling twice.
For more homeowner guides on ceilings, drywall, primers, sheen, and interior paint problems, see our interior painting resources.
A New Leaf Painting Contractors — Jacksonville, FL
We are a painting contractor based in Jacksonville, working throughout Northeast Florida — including St. Johns County, Ponte Vedra Beach, Jacksonville Beach, Orange Park, Fleming Island, and St. Augustine.
If you have a stained ceiling and the leak has been dealt with, call 904-615-6599 and we will come take a look. You can find us on Google, or read more about our painting company and the work we do.