
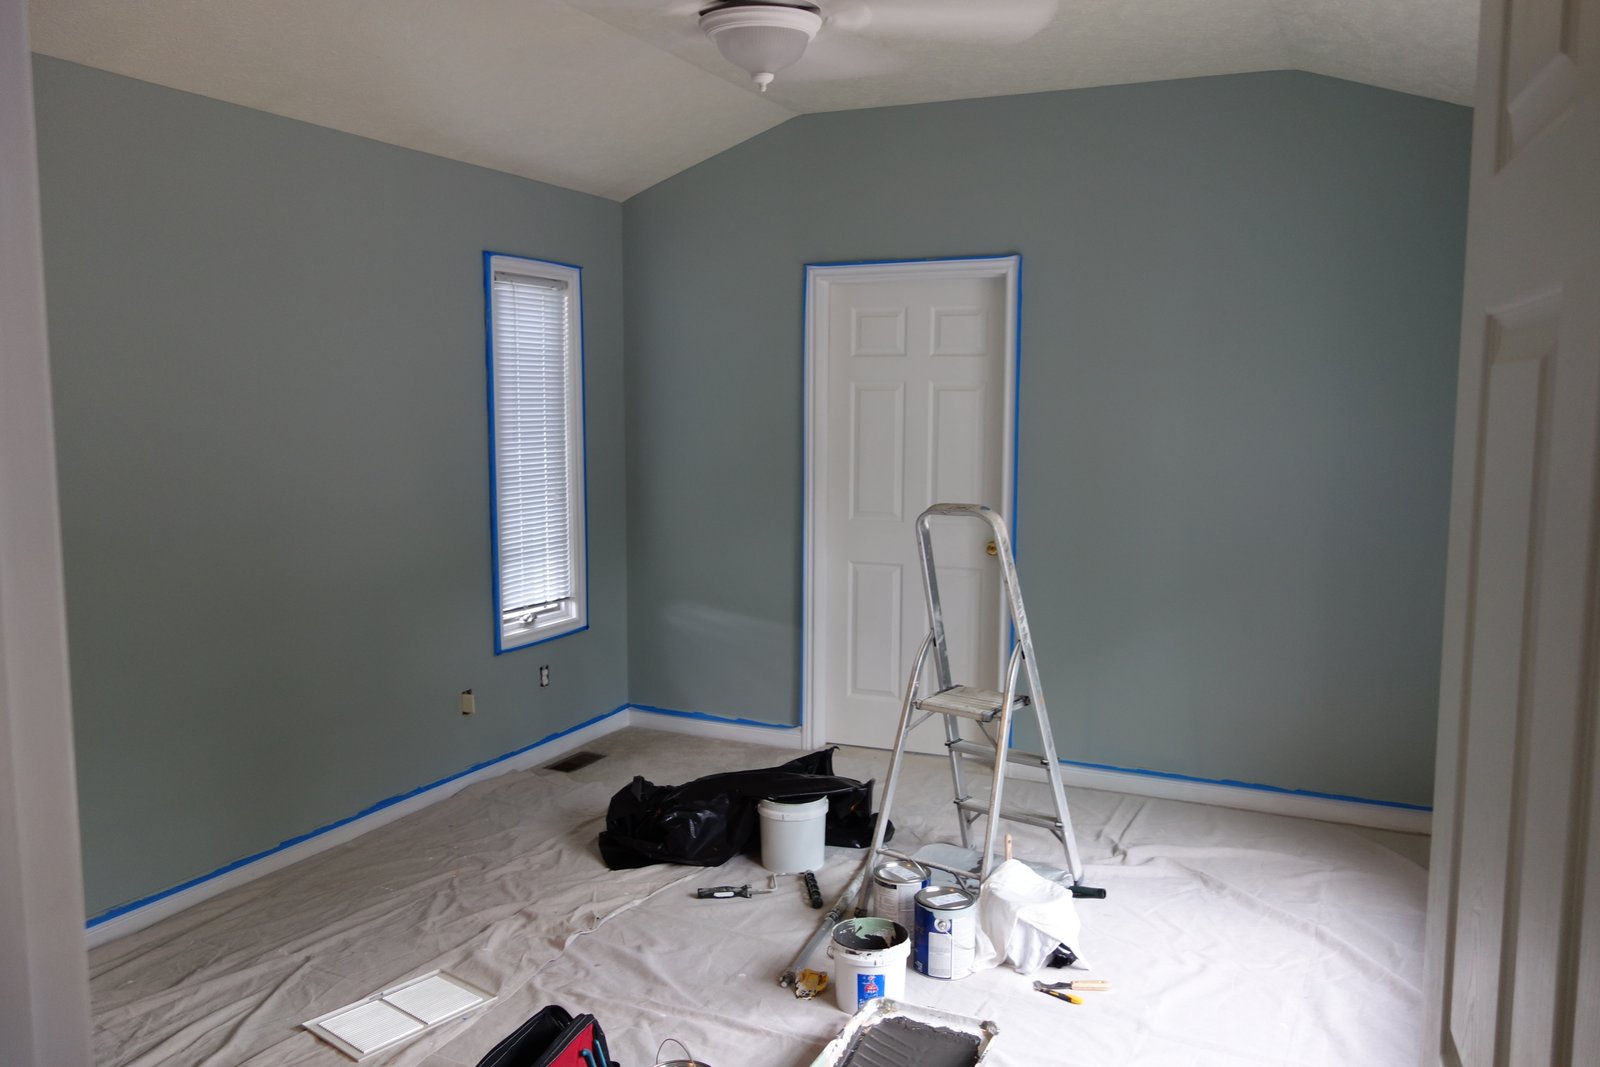
When you are getting ready to paint your Jacksonville, FL home, you have a lot of things to think about. There’s the color, the application technique, the accent walls, the trim, and so much more. But before you can tackle this particular DIY project, you need to think of one more simple thing: the painter’s tape. That’s right – painter’s tape might be the most important step you take when you paint your home. And why is that? When you apply painter’s tape the right way, you ultimately make fewer mistakes and end up with a more polished look. Let’s look at a few tips and tricks to ensure that you are getting the most out of this simple – yet so important – painting tool.
Clean before you begin
No matter how sticky your painter’s tape is, it simply won’t adhere to a dusty, dirty surface. Generally, you should begin with a thorough dusting with a damp rag. This should help to alleviate any issues with the tape. If the surface is greasy, though, you should use a detergent solution to clean it thoroughly. After cleaning – whether with the rag or detergent – wait for the surface to dry before applying the tape. This should save you time and frustration down the road.
Ensure a solid bond
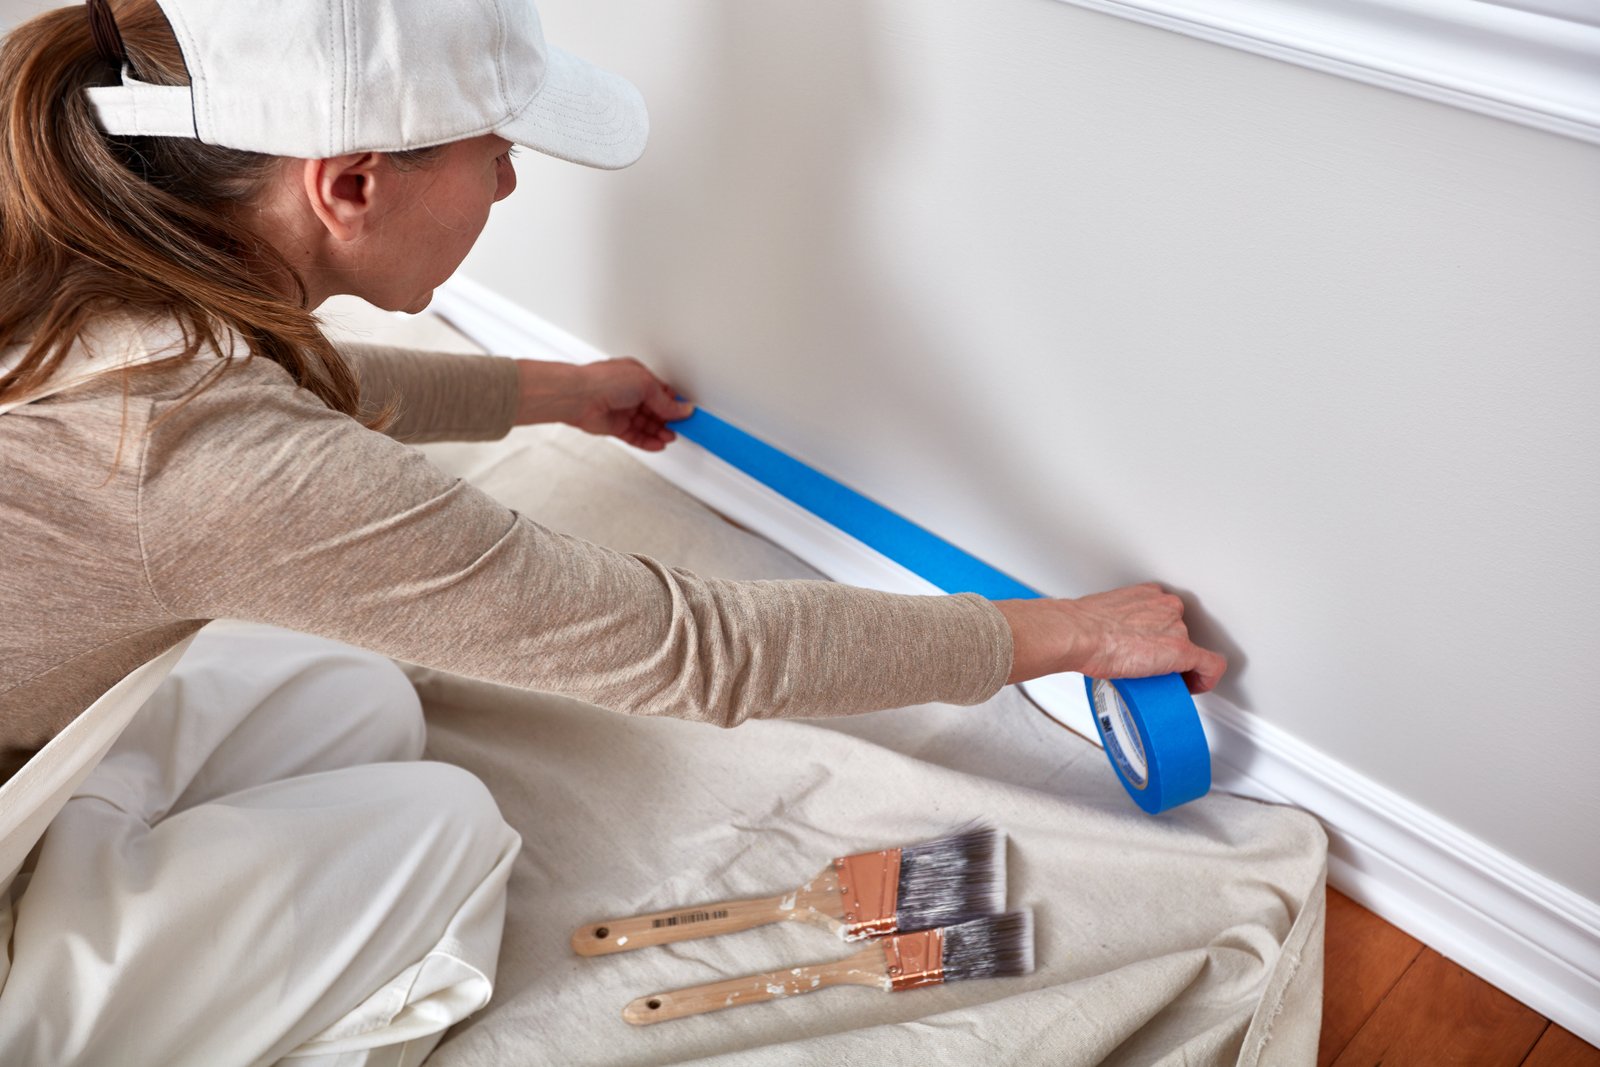
When you are applying painter’s tape, you don’t want there to be any bumps or bubbles that could affect the overall appearance of the work. So after you have applied the tape, it’s a good idea to press down on the edge to ensure that it’s sealed properly. If you don’t do this, the paint can seep under the edge of the tape – and you definitely don’t want that! You can usually do this step with a flexible putty knife or something similar. Simply start at one end of the tape and pull the blade along while applying even downward pressure.
Perfect corner fit
Corners can be one of the most difficult places to deal with when you are painting your home. But if you properly apply painter’s tape, your corners should come out perfectly. When you’re ready to paint the interior walls of your Jacksonville, FL home, you want to make sure that you’re doing the job right. So no cutting corners! Well, actually, you do need to properly cut the tape in the corner… You start by running the first piece of tape up the wall – and make it just a little longer than necessary. Then press the tape down in the corner with a putty knife. After you’ve done that, cut along the crease with a sharp utility knife, and remove the cutoff piece. Now your corner is perfectly taped!
Don’t forget about the floors!
When you are painting your interior walls, you also have to be mindful of the floor. After all, there’s nothing worse than having perfectly painted walls but a big paint stain on your hardwood! In an effort to save time while you’re moving drop cloths, you can apply a kraft paper border around the room. When you do this, be sure to carefully mask the edge closest to the base of the trim. With this type of border in place, you can easily move your tarps or drop cloths around without having to waste time keeping them perfectly tight to the baseboard.
Precise tape application – the easy way
Many people will purchase a special painter’s tape application tool, but it’s not always necessary. You can apply painter’s tape quickly and effectively without any additional equipment. Just follow these simple tips. Start by applying a few inches of painter’s tape to the molding, and then unroll about six more inches of tape. Then hold the tape roll tight against the wall and stick the six-inch section down. Repeat the process across the entire length of the molding.
Removing tape is important, too
Once your painting job is finished, it’s time to remove the painter’s tape. In a perfect world, you’d remove the masking tape right away – while the paint is still wet. But we’re not living in a perfect world, are we? That’s not always practical. First of all, most water-based paint dries very quickly. So by the time you’re finished painting a room, the paint where you started is likely already starting to dry. Then, of course, if you have to apply a second coat of paint, it’d be a waste of time to remove the painter’s tape just to reapply it. So if you have to wait until the paint is completely dry, the best way to remove the tape is by first scoring the edge with a putty knife before pulling it off. By doing this, you break any bond that has formed between the tape and the paint, and you ensure that the masking tape comes off cleanly.
Additionally, when you are removing the painter’s tape, you need to do it at the proper angle. Remove the tape at about a 45-degree angle to the painted surface. This will minimize the tendency for paint to peel during the process.
Hopefully, these tips and tricks have helped put your mind at ease when it comes to this important piece of your DIY painting project. Whether you are painting your whole home or just a single room, the effective use of painter’s tape can really go a long way. Using painter’s tape helps to ensure clean edges, less of a mess, and an overall better look to your interior painting project.