If you’re feeling inspired to switch up the interior paint color in your Jacksonville, FL home, you may be excited to start your DIY home painting project as soon as possible. That’s great! Excitement is one of the most important things that you should have when you’re taking on a project in your home. But you need to make sure that you’ve spent some time thinking through exactly what a project like that entails. After all, it’s probably really tempting to run over to your local hardware or paint store and pick up some brushes, buckets, tarps, paint, and tape and start painting. That should be enough, right? Actually, interior painting is one of the most underestimated home improvement projects out there. So, before you begin, make sure you take the following things into consideration.
Painting takes patience
If you ask a homeowner how they feel about interior painting, odds are they’ll tell you that it’s one of their least favorite DIY jobs. But why is that? It’s because interior painting takes a certain level of patience – and if you’re not prepared for that before you begin, you may end up biting off more than you can chew with this project. And the need for patience starts right from the beginning. There’s prep time, then there’s the painting itself, and there’s the most exciting part – watching paint dry.
Panting prep like the pros
There are a few aspects of painting prep that every homeowner and professional interior painter needs to take into consideration.
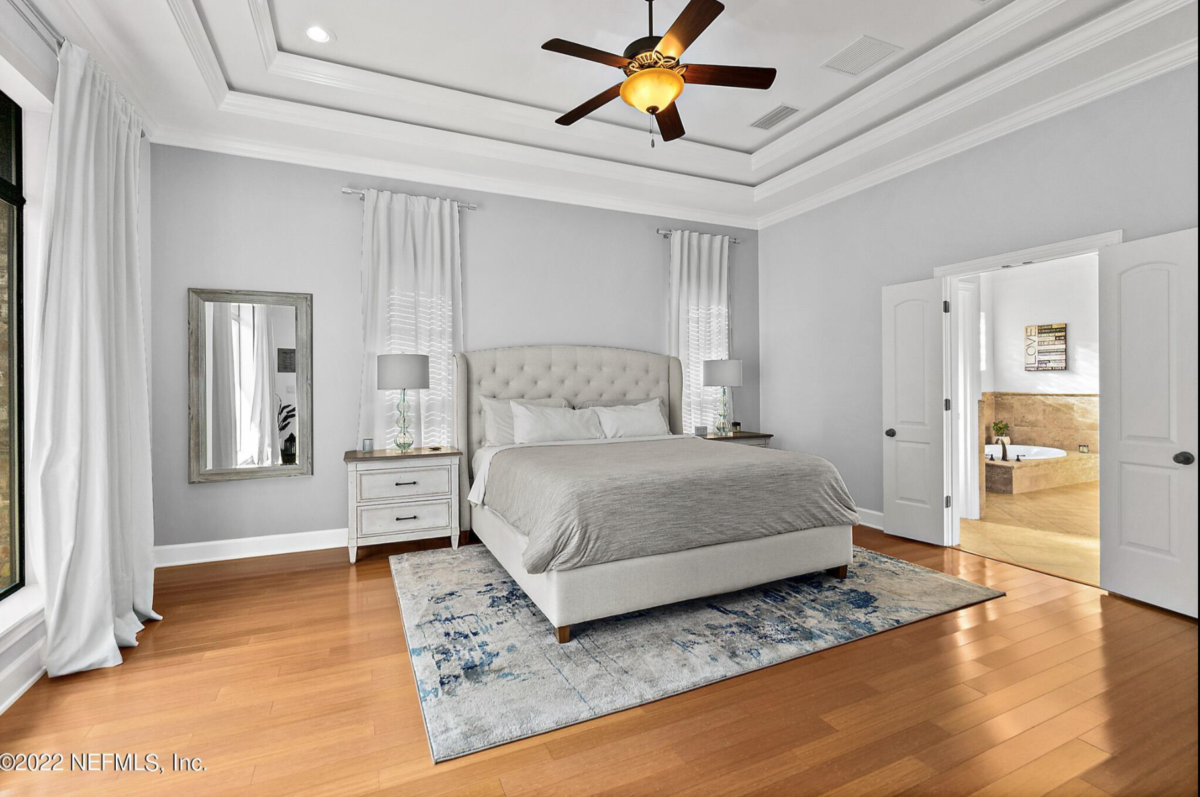
Consider the furniture
Before you can begin painting your home, you need to move – or remove – the furniture and other items from the room. This includes clearing out wall hangings, picture frames, mirrors, furniture, house plants, etc. It might be easiest to put all of the items in the middle of the room. This way, they’re away from the walls, but you’ll have an easier time putting it all back together.
Consider your clothes
If you’re going to protect the furniture in your home when you paint, you should also protect yourself. Make sure you have proper eye protection and wear clothes that you don’t mind ruining. If you’re doing any sanding, you should also consider a facemask to protect yourself from inhaling any debris or dust.
Clean, repair, and be on the lookout for flaws
The interior walls of your home should be thoroughly cleaned before you begin your DIY painting job. You can use a simple water wipe for most rooms. In areas that may build up more dirt – like bathrooms or kitchens – you can use a solution of detergent and water.
Nail holes, dents, and cracks should be addressed before you begin painting.
The right tools for the job
After you’ve sufficiently prepared for your interior painting project, you should make sure you have all of the tools you need to successfully complete the job as professionally as possible. Painting tools can vary in price – the best tools will yield the best results.
Basic interior painting prep tools
These tools will help you get your walls prepared to take on your new interior paint color.
- Facemask
- Protective eyewear
- Sandpaper (or an electric sander, depending on the size of the job)
- Wall patch or caulk
- Patch blades
Interior painting tools to get the job done
After you have prepared your interior walls, these are the tools that you’ll need to have in order to complete the project.
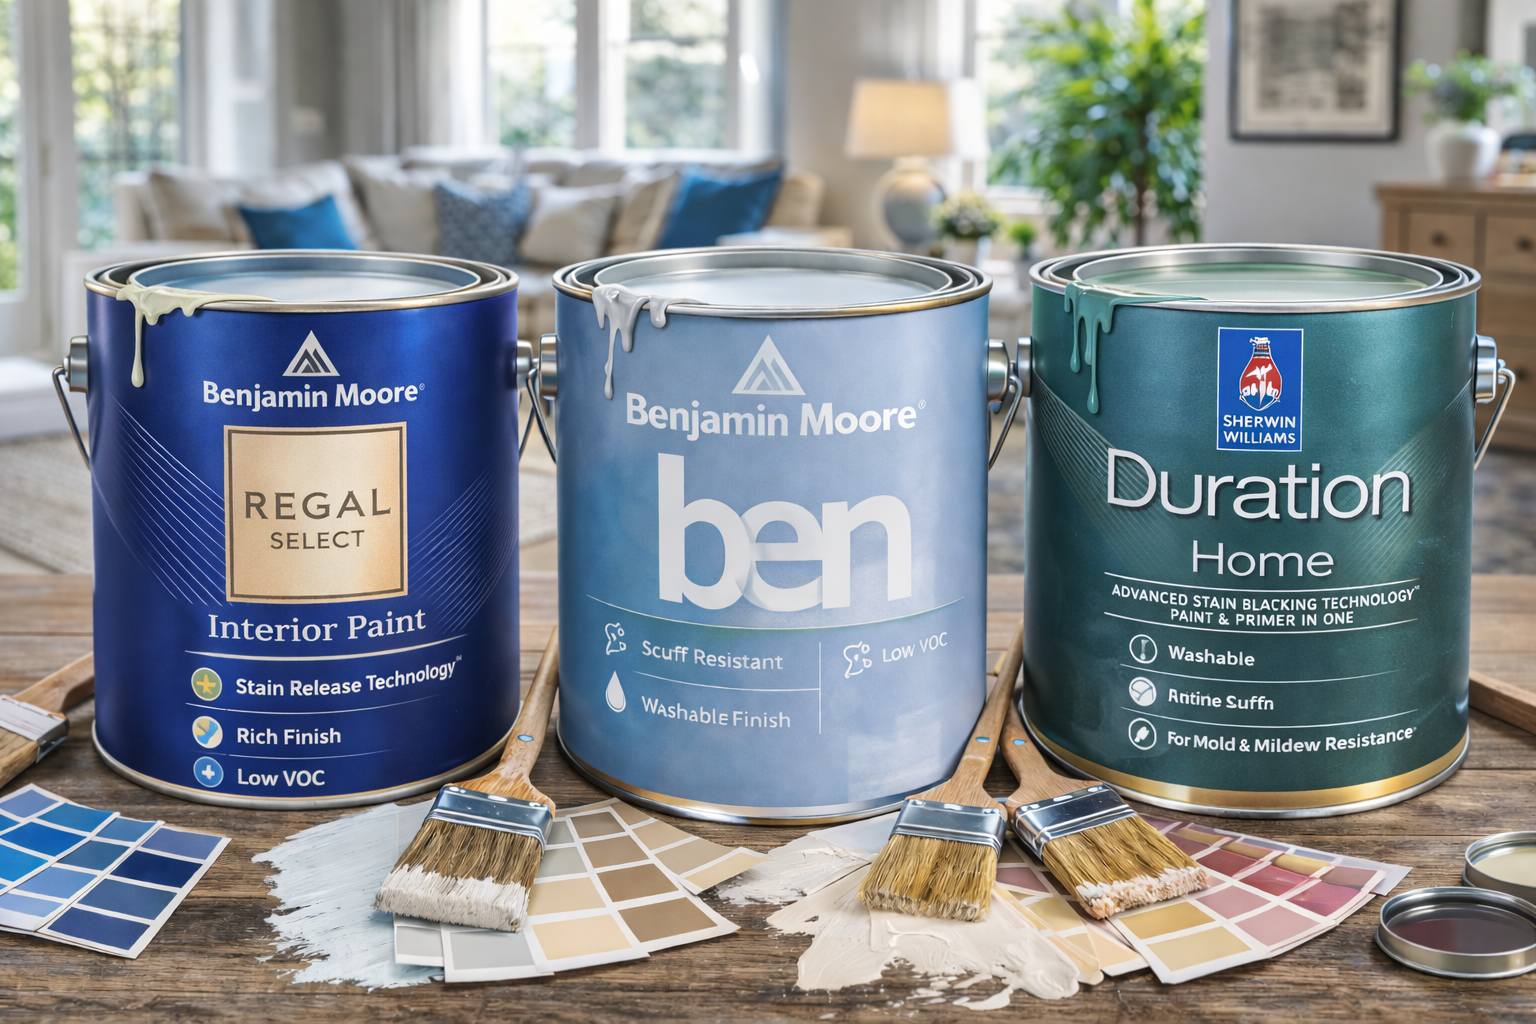
- Paint and paint cans
- Can opener
- Paint stirrers
- Paint roller covers
- Paintbrushes in a range of sizes
- Paint trays
- Rags or old towels to clean up any messes
- Extension pole
- Painter’s tape
- Paint spout
How much paint will you need?
If you get the right amount of paint for your project at the start, you can alleviate the risk of running out in the middle of the job. But how much do you really need in order to get the job done? You should measure the square feet of the room that you’re planning to paint. On average, a gallon of paint will generally cover 450 square feet.
And while you’re choosing paint, make sure you take the color into consideration. Don’t rely solely on the little paint swatches that you can get in the store. Test the colors out on your walls before you make a final decision. This way, you can see how the lighting in your home affects the color – and this will help you see how the color will ultimately hold up in real life.
Clean up like a pro
We’ve done several articles about the ins and outs of painting the interior of your Jacksonville, FL home, so we don’t need to repeat all of those tips now. But, suffice it to say, once you’ve painted, you need to make sure that you get everything cleaned up properly. If you are using an oil-based paint, you cannot clean them in the sink. You need to use thinner in order to remove excess paint from your brushes and tools. You should also research how your local area handles the disposal of paint thinners – they are strong chemicals that cannot be disposed of curbside.
Any extra paint can be saved in case you need it in the close or distant future to correct any stains or nicks that may come up due to wear and tear.
Paint your Jacksonville, FL home
When you’re ready to change the colors in your home, it’s important to take everything into consideration. Taking on a DIY interior painting project can be a satisfying and ultimately cost-effective solution as long as you know what you’re getting into.